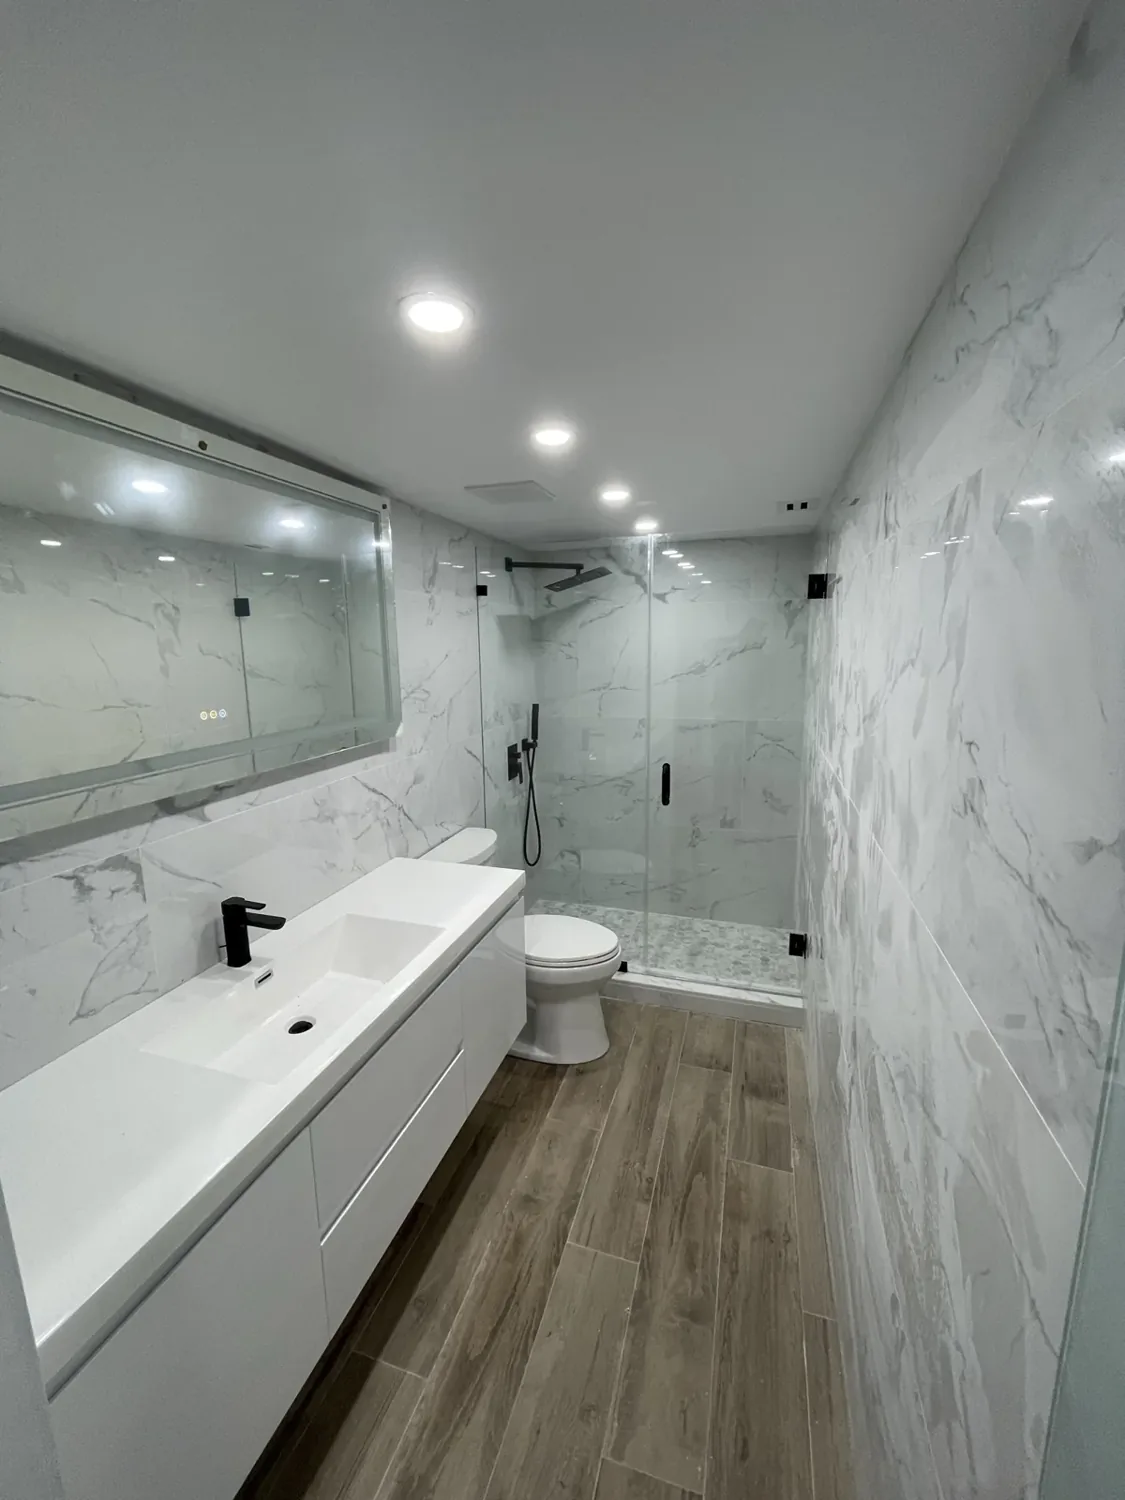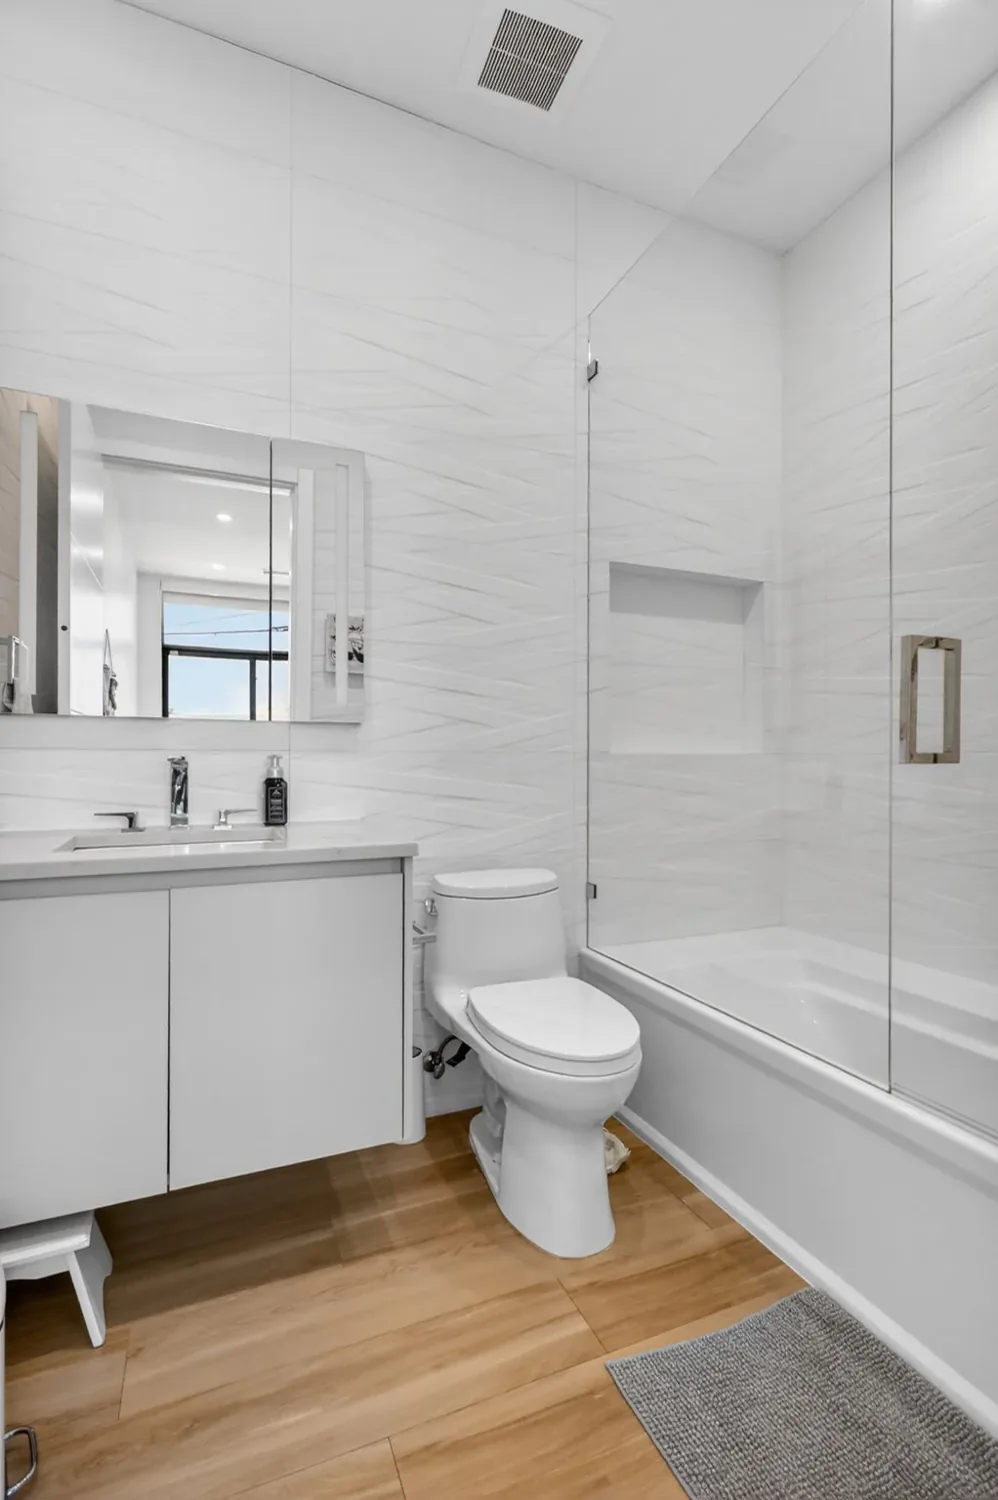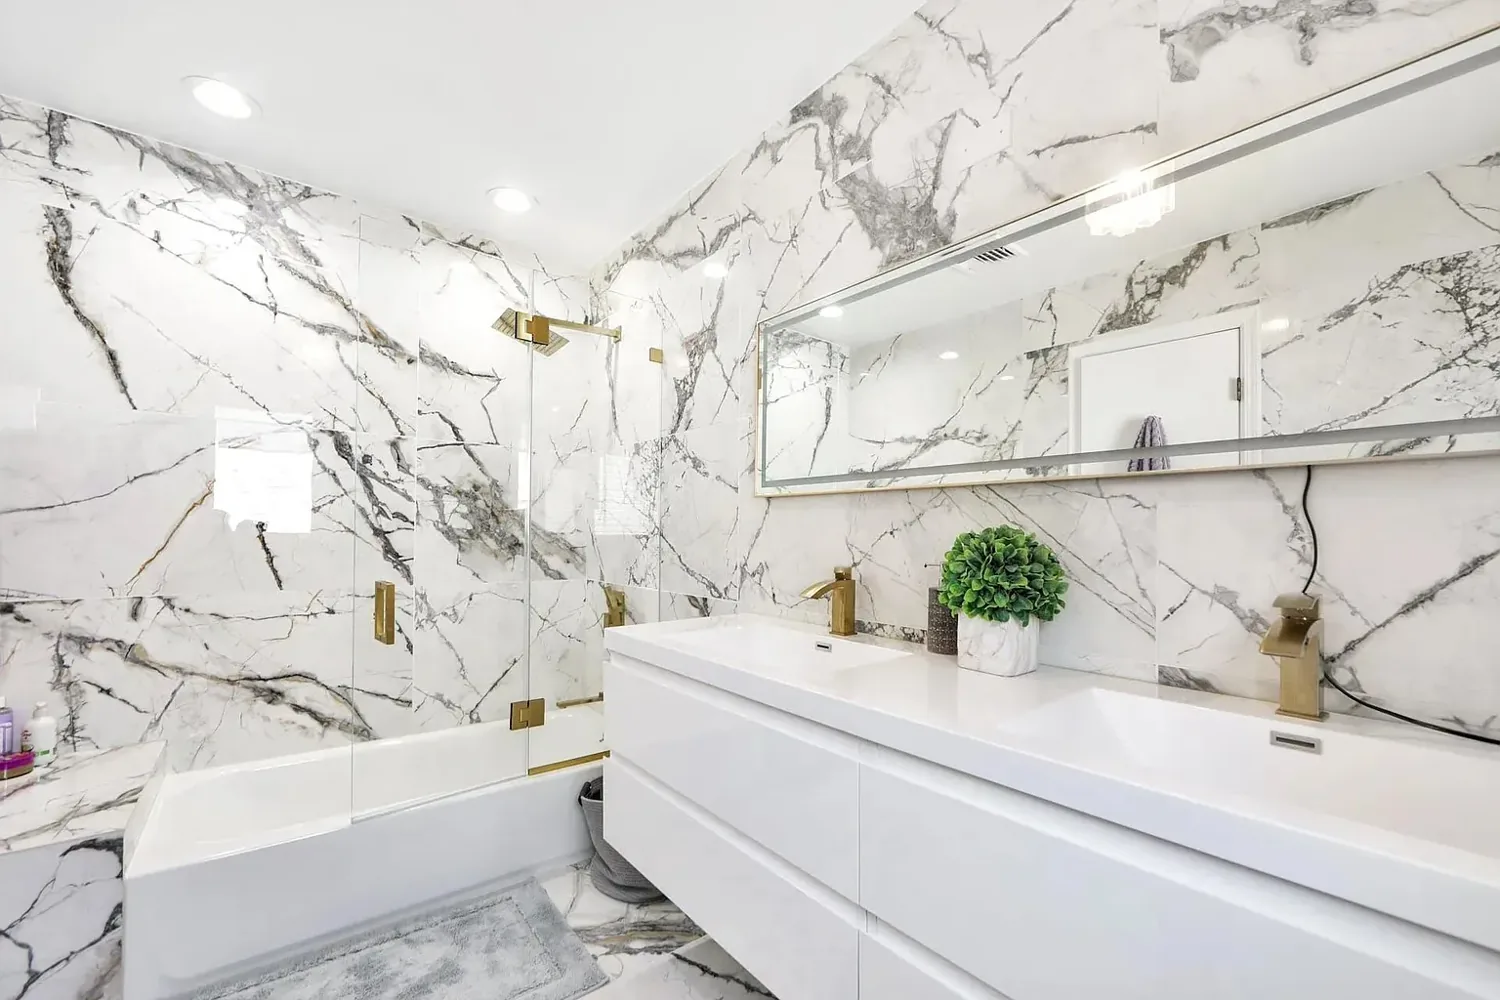
A curbless, or zero-threshold, shower has no step at the entry: the bathroom floor runs straight into the shower and slopes gently to a drain. Done properly, it means recessing the floor under the shower or raising the floor around it, a continuous waterproofing membrane that extends past the shower opening, and a drain sized for the flow. For aging in place, pair it with solid blocking for grab bars, a bench, a hand shower and enough clear floor space to turn around.
It is one of the best long-term decisions you can make in a bathroom, and one of the easiest to get wrong. The common failure is simple: the curb comes out, but nobody solves where the water goes.
Why a curbless shower is harder than it looks
A curb is a dam. It holds water inside the shower even if the floor slope is imperfect or the drain is slow. Remove it and the floor itself has to do that job. The shower floor must slope toward the drain, the bathroom floor must not slope toward the shower opening, and the waterproofing has to be continuous across both.
That means the shower floor must sit lower than the bathroom floor, or the bathroom floor must be built up around it. There are two main ways to get there, and which one you can use depends on what your building is made of.
Slab recessing vs. raising the floor: how curbless showers are built
Recessing the slab
Many South Florida houses are built on a concrete slab. The cleanest curbless shower recesses that slab under the shower area so a sloped mortar bed and tile can finish flush with the rest of the floor. Tile industry methods published by the Tile Council of North America call for the slab depression to extend beyond the shower area, so the finished floor can contain water, with a slope of 1/4 inch per foot toward the drain.
Cutting a slab is real work. It means saw-cutting, removing concrete, protecting or rerouting the drain line, and sometimes dealing with the vapor barrier and reinforcement beneath. In a house, it is usually feasible. In a high-rise condo, the slab is part of the building’s structure and the space below belongs to your neighbor, so recessing is generally off the table without engineering and association approval.
Raising the bathroom floor
Where you cannot go down, you go up. The rest of the bathroom floor is built up so the shower floor, sloped to its drain, sits below it. The trade-off is a small transition at the bathroom door instead of at the shower. With a linear drain and a thin-profile system, the total build-up can be modest; one industry design guide gives an example of about one inch of construction height for a shower with a 48-inch radius to the drain. This is often the realistic route in condo renovations.
Wood-framed floors
Second floors and some older homes have wood framing. As TCNA guidance points out, the building code does not allow floor joists to be cut to make room, so recessed systems there rely on manufacturer-specific products and blocking, installed exactly to the manufacturer’s instructions.
Linear drain or center drain?
A center drain needs the floor sloped from four directions into a funnel, which limits you to small tile so it can follow the planes without lippage. TCNA guidance limits center-drain floors with a 1/4-inch-per-foot slope on all sides to small mosaics or roughly 4-inch tile.
A linear drain runs along one edge, so the floor slopes in one direction. That is why it pairs naturally with curbless design and with large-format tile, which can run from the high point to the drain as flat planes. Placement matters for capacity. One remodeling trade guide notes that a linear drain at the shower entry handles roughly 5 gallons per minute, while one on the back wall handles roughly 10 to 12. Most modern showerheads are restricted to around 1.5 gallons per minute, but a rain head plus a hand shower plus body sprays can exceed an entry drain’s capacity.
Our view: put the linear drain on the back wall or the wall opposite the entry when the floor allows, so the high point sits at the shower opening and water flows away from the bathroom.
Waterproofing a zero-threshold shower
The waterproofing for a curbless shower is a bonded membrane meeting the ANSI A118.10 standard, continuous from the drain flange up the walls and across every change of plane. TCNA methods call for the floor and wall waterproofing to continue at least one foot beyond the high point of the floor, with the high point located outside the shower opening. Where splash will reach further, waterproofing more of the bathroom floor is cheap insurance.
Before tile goes down, the pan should be flood tested: water sits in it for a set period and the level is checked. It is the only time the waterproofing can be tested and fixed easily. Our guide to bathroom waterproofing in Florida covers the methods in more detail.
Aging-in-place dimensions: what the ADA standards say
The 2010 ADA Standards for Accessible Design apply to public accommodations, not private homes, but they are the best-documented reference for accessible bathroom design. The figures below come from the US Access Board’s guide to those standards.
| Element | ADA reference dimension |
|---|---|
| Transfer shower | 36 by 36 inches, exactly |
| Standard roll-in shower | At least 30 inches deep by 60 inches wide |
| Alternate roll-in shower | At least 36 by 60 inches, with a 36-inch entry |
| Threshold | 1/2 inch maximum (up to 1/4 inch may be vertical; above that, beveled) |
| Shower floor slope | 1:48 maximum (1/4 inch per foot) |
| Grab bar height | 33 to 36 inches above the finished floor |
| Grab bar diameter | 1 1/4 to 2 inches |
| Grab bar clearance to wall | 1 1/2 inches |
| Grab bar strength | 250 pounds of force, any direction |
| Shower seat height | 17 to 19 inches above the floor |
| Hand shower hose | At least 59 inches long |
| Turning space | 60-inch diameter circle or T-shaped space |
You do not need to meet these numbers in your own home. They are useful as targets. A 60-inch-wide shower with a bench, a hand shower on a slide bar and grab bars in the right place will work for a wheelchair user, a caregiver, a parent with a toddler and anyone recovering from surgery.
Grab-bar blocking: the cheapest thing you will be glad you did
Grab bars need to resist 250 pounds of force. Drywall anchors will not do that, and cement board alone is not structure. Before the walls close, install solid wood or metal blocking between the studs throughout the shower and beside the toilet, in a band well above and below the 33-to-36-inch grab bar zone, and photograph it with a tape measure in frame. If you do not want grab bars today, the blocking costs very little and means a bar can be added later anywhere along the wall without opening tile.
Floor tile matters too. For wet interior floors, the tile standard ANSI A137.1 references a dynamic coefficient of friction of 0.42 or higher. Smaller tiles with more grout lines and textured finishes add grip.
How much does a curbless shower cost?
National data puts a new walk-in shower installation at about $14,300 on average, and one guide tops custom tiled showers out near $15,000. Going curbless adds an estimated $1,500 to $3,000 over a comparable curbed shower, mostly in labor. Linear drain units alone typically run $200 to $600, and grab bars up to about $300 each installed. Those are shower-only figures in national averages. Recessing a slab for a true zero threshold is the technically difficult version of this job, and it is where we do our best work.
A full accessible bathroom is a different number. The 2025 Cost vs. Value Report puts a universal-design bathroom remodel in Miami at about $40,234, recouping roughly 62 percent at resale.
What moves the number in South Florida: whether the slab can be recessed or the floor must be raised, whether the drain line must be moved, condo restrictions, tile size and pattern, and glass. A real budget for your bathroom needs a site visit, and our bathroom remodeling page explains how we scope it.
On the Hollywood Lake House, all four bathrooms were rebuilt with waterproofing from the substrate up. That is the standard any curbless shower should be held to. If you are weighing whether to remove a tub at all, read our article on walk-in showers versus tubs for resale.
Frequently asked questions
Do curbless showers leak?
Not when they are designed and built correctly. Leaks happen when the floor is not sloped properly, the drain is undersized or poorly placed, or the waterproofing stops at the shower opening. Industry methods call for the membrane to extend at least a foot beyond the floor’s high point, which should sit outside the shower. A flood test before tiling confirms the pan holds water.
Can you put a curbless shower in a condo?
Often, but usually by raising the bathroom floor rather than recessing the slab. In a high-rise the slab is structural and the space below belongs to another unit, so cutting it generally requires engineering and association approval. A thin-profile system with a linear drain can keep the build-up small. Check your association’s alteration rules early.
How big does a curbless shower need to be for a wheelchair?
The ADA standards, which are a useful reference for homes, call for a standard roll-in shower at least 30 inches deep and 60 inches wide, or an alternate design at least 36 by 60 inches with a 36-inch entry. Outside the shower, plan for a 60-inch turning circle. A seat, hand shower and grab bars make the space genuinely usable.
What height should grab bars be in a shower?
The ADA reference height is 33 to 36 inches above the finished floor, with 1 1/2 inches of clearance to the wall and a bar diameter of 1 1/4 to 2 inches. Each bar must resist 250 pounds of force, so install solid blocking in the wall before tiling.
How much does a curbless shower cost?
National guides estimate a curbless shower adds roughly $1,500 to $3,000 over a comparable curbed walk-in, and a new walk-in shower averages about $14,300 nationally. A full universal-design bathroom in Miami averaged about $40,234 in the 2025 Cost vs. Value Report. Slab work, drain relocation and condo constraints drive the real number.
Is a linear drain better for a curbless shower?
Usually. A linear drain lets the floor slope in one direction, which suits a level entry and allows large-format tile. Placement affects capacity: one trade guide puts an entry-located drain at roughly 5 gallons per minute and a back-wall drain at 10 to 12, so multiple shower heads may call for a back-wall position.