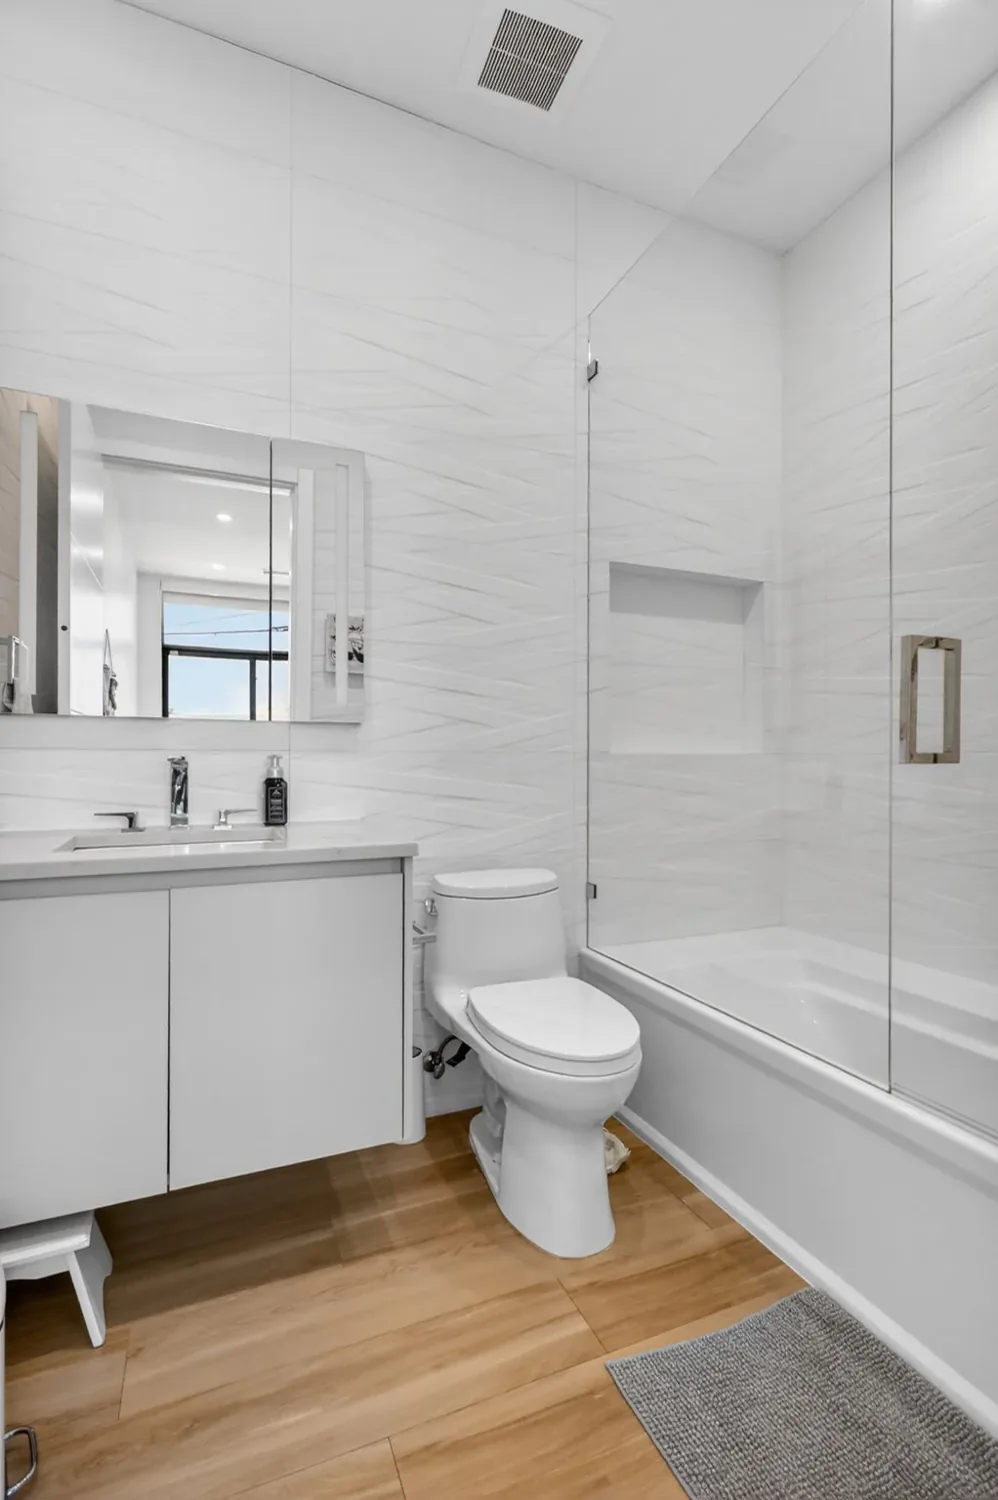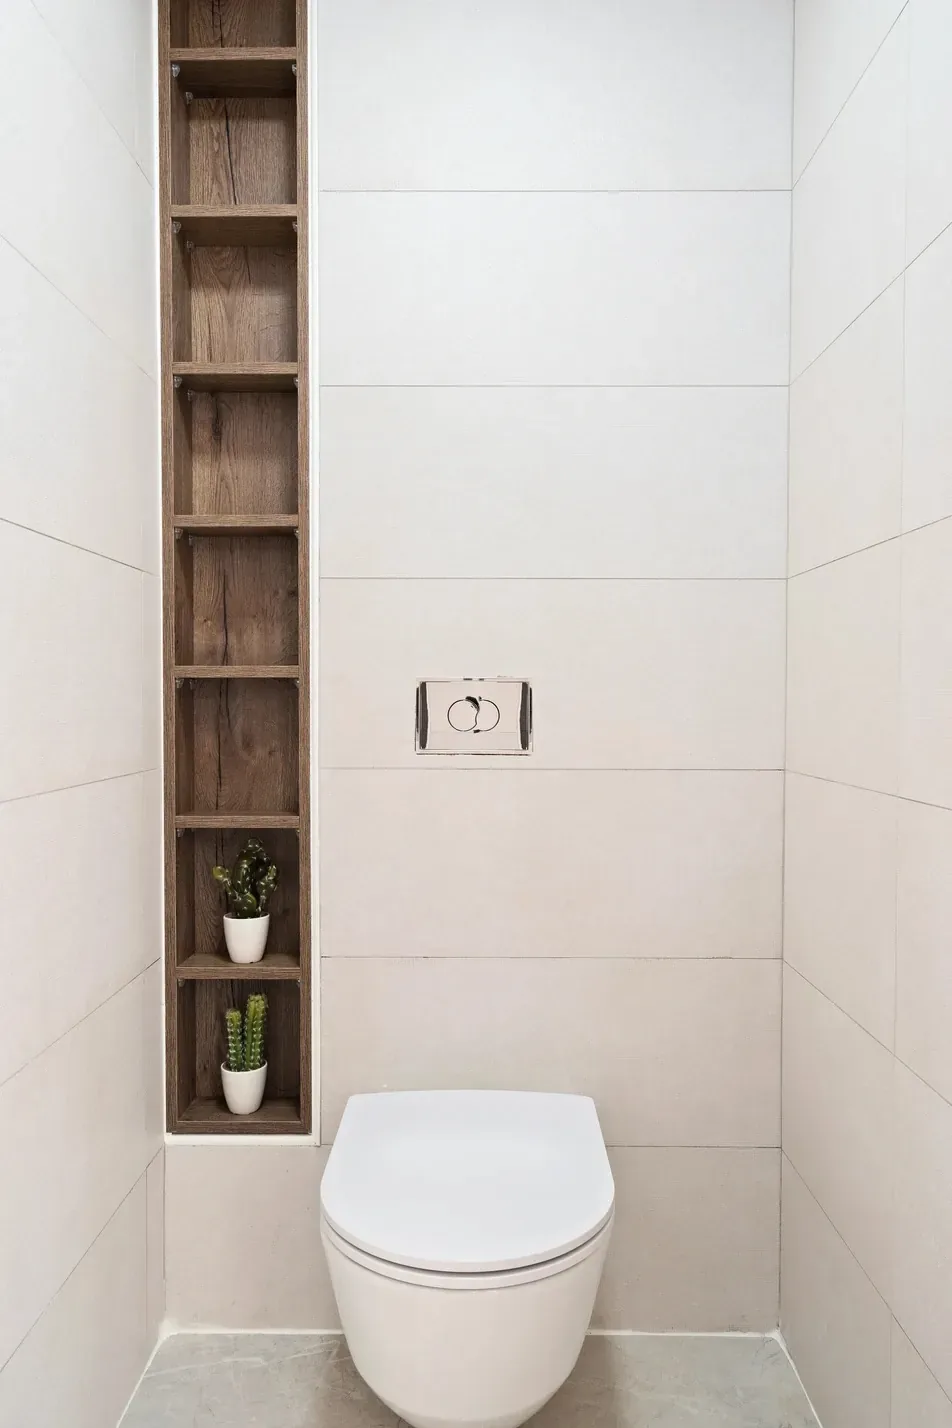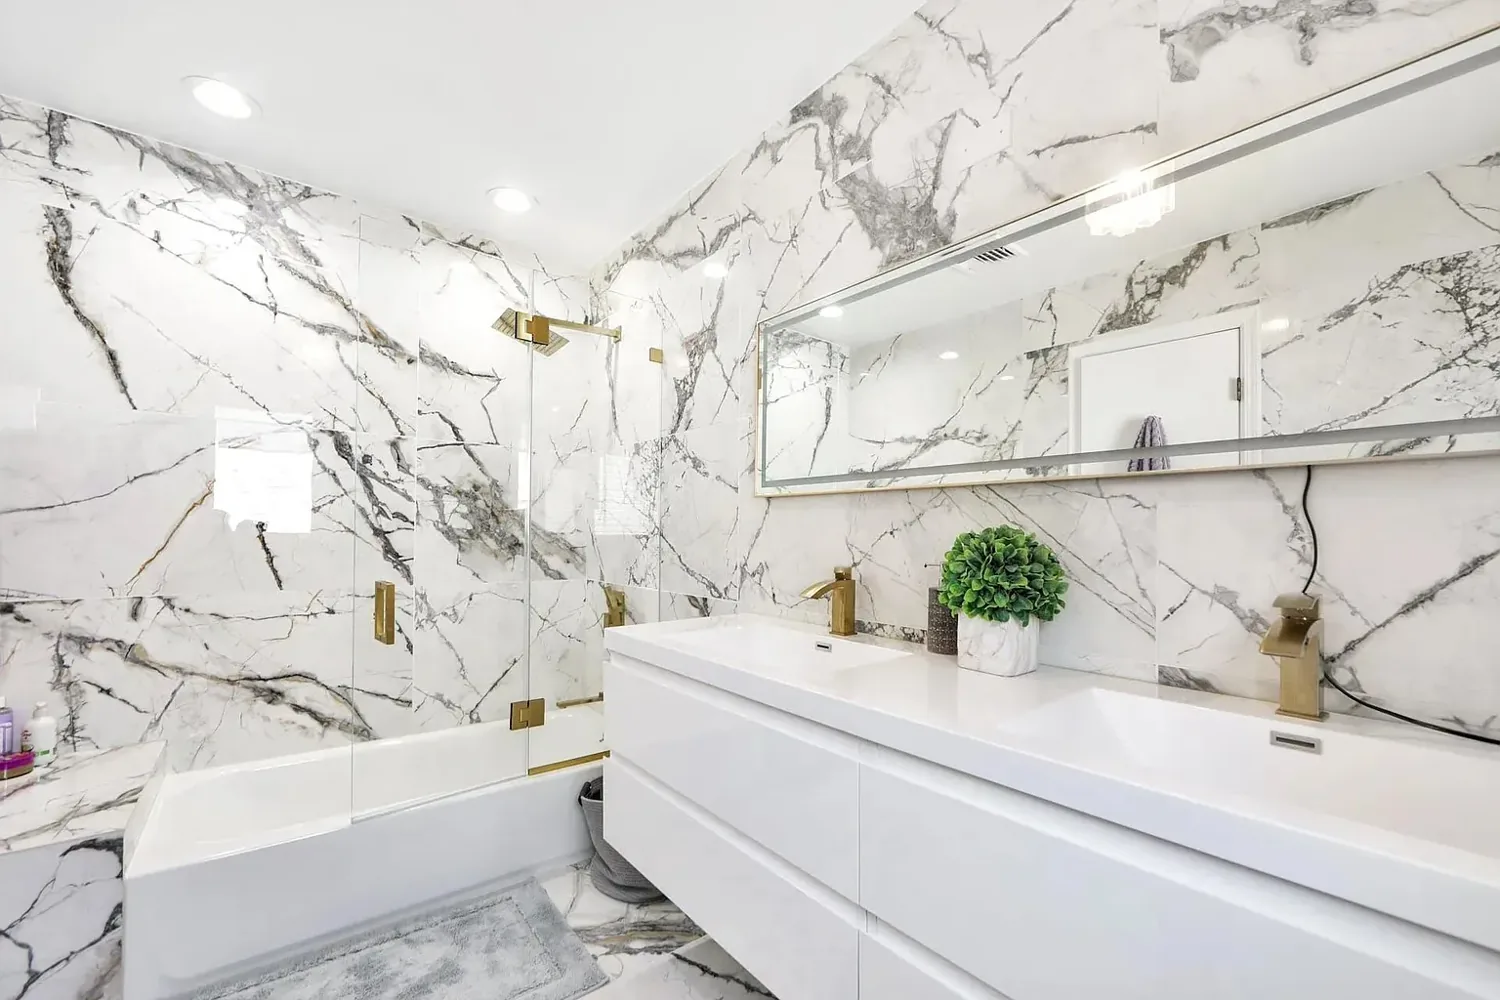
Large-format tile, generally any tile with an edge of 15 inches or more, makes a bathroom look larger and cleaner with fewer grout lines, and it is a good choice when the installer meets the standards it demands. Those standards are strict: a substrate flat to within 1/8 inch over 10 feet, at least 95% mortar coverage in wet areas, controlled lippage, and a shower floor sloped to the drain without cracking a large, rigid tile. Get those wrong and you get raised edges, hollow spots, cracked tiles and water where it should not be.
Here is what large-format tile does well, where it goes wrong, and the questions that separate a contractor who has done it properly from one who is learning on your bathroom.
What counts as large-format tile?
The industry standard for tile installation, ANSI A108.02, sets stricter requirements for tile with any edge of 15 inches or longer. In practice that means a 12×24 is the entry point, and the formats popular in Miami bathrooms today, such as 24×48, 32×64 and 48×48, sit well inside the category. Above roughly one square meter, gauged porcelain is classified as a panel or slab, which is a different installation again.
The appeal is easy to see. Fewer grout joints mean less cleaning and a calmer surface, a single tile can run floor to ceiling, and large porcelain can imitate marble convincingly without marble’s maintenance. You can see what that looks like in our bathroom gallery.
The pros of large-format tile in a bathroom
- Fewer grout lines. Less grout to clean, stain or seal, and fewer joints for water to find.
- Visual size. Small bathrooms read larger with continuous surfaces, especially in condos where the footprint is fixed.
- Stone looks without stone upkeep. Porcelain does not etch or need sealing the way marble does.
- Wall panels. Full-height panels in a shower can mean almost no grout on the walls at all.
Pitfall 1: substrate flatness
This is the root cause of most large-format failures. For tile with an edge of 15 inches or more, ANSI A108.02 allows no more than 1/8 inch of variation in 10 feet, and no more than 1/16 inch in 24 inches, measured from the high points. For smaller tile the allowance is twice as loose, at 1/4 inch in 10 feet.
A small tile follows a wavy floor. A 48-inch tile bridges it, rocks on the high spot, and leaves voids over the low spot. Concrete slabs in older South Florida houses and condo floors after demolition are rarely that flat without work.
The correct fix is grinding high spots and filling low spots with a patching compound or self-leveling underlayment over the manufacturer’s primer. The wrong fix, and the common one, is building up extra thinset under the tile. The Ceramic Tile Education Foundation warns specifically against it: thick thinset shrinks as it cures, and that is how tiles that looked flat on installation day develop raised edges weeks later. On the Bay Harbor apartment, levelling the floor came before any finish, which is the right order on any condo gut.
Pitfall 2: lippage
Lippage is the height difference between the edges of adjacent tiles. You see it as a shadow line in raking light from a window or a wall sconce, and you feel it barefoot. CTEF guidance puts acceptable lippage at about 1/32 inch, roughly the thickness of a credit card, for grout joints under 1/4 inch.
Large tiles are never perfectly flat; they have a slight warpage that is allowed by the manufacturing standard. Two things control the result. The first is pattern: ANSI A108.02 limits offsets to 33% or less for rectangular tile 15 inches or longer, unless a mockup is approved, because a 50% brick offset puts the high center of one tile next to the low edge of another. The second is a mechanical leveling system during installation, which holds edges flush while the mortar cures. If your design calls for a half offset with long planks, ask how the contractor will manage it.
Pitfall 3: mortar coverage
Industry standards call for at least 80% mortar contact in dry areas and at least 95% in wet areas like showers. On a large tile, that does not happen by accident. It takes a large-and-heavy-tile mortar, the right trowel notch, straight-line troweling, and usually back-buttering the tile.
A good installer lifts a tile occasionally to check. A hollow-sounding tile is a tile with voids under it, and in a shower that is where water collects and where cracks start.
Pitfall 4: slope to the drain
A shower floor has to slope to the drain at the rate the plumbing code requires. A traditional center drain means the floor slopes in four directions toward one point. Small mosaics bend easily around that. A large, rigid tile cannot, so it has to be cut along the slope lines into an envelope pattern, or it will rock and crack.
The cleaner solution with large-format tile is usually a linear drain along one wall or at the entry. The floor then slopes in a single plane, and a big tile can lie flat across it. This is also what makes curbless, zero-threshold showers practical; we cover those in curbless showers for aging in place. In a condo, a recessed or curbless shower often requires lowering part of the floor, which can be limited by the slab, so it has to be checked before the design is finalized.
Pitfall 5: waterproofing behind and under the tile
Tile and grout are not waterproof. The waterproofing is a membrane underneath, applied to the whole shower and tied into the drain, and in many bathrooms extended across the whole floor. Large tile does not change that, but it does raise the stakes: the cost of removing a failed 48-inch tile to fix a leak is far higher than lifting a few mosaics.
What to look for is a system approach: membrane, drain, corners, niches, bench and curb from one manufacturer, installed to its instructions, and a flood test before tile goes down. On the Hollywood Lake House, all four bathrooms were rebuilt with waterproofing from the substrate up. That is the standard we hold to on every bathroom. We explain the methods in detail in bathroom waterproofing in Florida.
Other things that are easy to miss
- Getting it into the room. A 48×48 tile in a high-rise has to fit in the service elevator and through the unit door. Panels can be impossible in some buildings.
- Movement joints. Large tiled areas need soft joints at perimeters and changes of plane, filled with sealant rather than grout.
- Floor deflection. On wood-framed floors, the framing has to be stiff enough for the tile size. Most South Florida houses are on slabs, but some older homes and additions are not.
- Waste and breakage. Large tiles break more in handling and cutting. Order extra, and from the same production lot.
- Slip resistance. A polished large tile on a shower floor is slippery. Use a textured or matte version on the floor, and keep the polished finish for walls.
What to ask a contractor before hiring them for large-format tile
- How will you check and correct floor and wall flatness, and is leveling included in the price?
- Which mortar will you use, and how will you confirm 95% coverage in the shower?
- Will you use a leveling system, and how will you handle the offset in my pattern?
- Which waterproofing system will you use, and will you flood test it before tiling?
- Center drain or linear drain, and how will the tile be cut around the slope?
- Where will the movement joints go?
- Can you show me photos of large-format bathrooms you have completed, ideally with raking light across the floor?
- How will the tile be delivered and stored, and how much overage are you ordering?
A contractor who answers these clearly and in writing is one who has done this before. For a broader list of what to check, see our contractor hiring checklist, which also explains how to verify a contractor’s state license on the DBPR website. Our bathroom remodeling and flooring and tile pages describe how we approach this work. Whether large-format tile suits your bathroom depends on the substrate, the shower layout and access, which is what a site visit is for.
Frequently asked questions
Is large-format tile good for small bathrooms?
Often, yes. Fewer grout lines make a small room look larger and calmer, especially when the same tile continues from floor to walls. The limits are practical: the floor must be very flat, shower floors may need a linear drain or cut tiles, and in a condo the tile has to fit in the elevator. A 12×24 or 24×24 is often the sensible size.
Can you use large tiles on a shower floor?
Yes, with the right drain. A center drain needs the floor to slope in four directions, which large rigid tiles cannot follow without being cut along the slope lines. A linear drain lets the floor slope in one plane so a large tile can lie flat. Use a textured or matte finish on the floor for slip resistance.
What causes lippage in large-format tile?
Lippage comes from a combination of substrate that is not flat enough, natural warpage in the tile, thick thinset that shrinks as it cures, and offset patterns that place high and low points side by side. Installation standards limit offsets to 33% for long rectangular tiles. Proper leveling of the floor and a mechanical leveling system during installation prevent most of it.
How flat does a floor need to be for large-format tile?
For tile with any edge 15 inches or longer, ANSI A108.02 allows no more than 1/8 inch of variation in 10 feet and 1/16 inch in 24 inches. Smaller tile allows 1/4 inch in 10 feet. Low spots should be filled with patching compound or self-leveler over primer, not with extra thinset.
Is large-format tile more expensive to install?
Usually, yes. Even when the tile costs the same per square foot as a smaller format, installation takes more preparation, a specialized mortar, back-buttering, leveling systems and often two installers to handle each piece. Extra breakage and delivery logistics add cost too. The surface preparation is the part most likely to be underpriced in a cheap quote.